Inviting Patients to Enroll
Click the Invite Patients button:

This will open the Invite Patients screen. You can search here for a specific patient or work from the complete list of patients. At the far left are check-boxes for each patient. With these you can:
- Select patients individually by clicking each box
- Select all eligible patients by clicking Select All at the bottom left (and to undo this, click Unselect All)
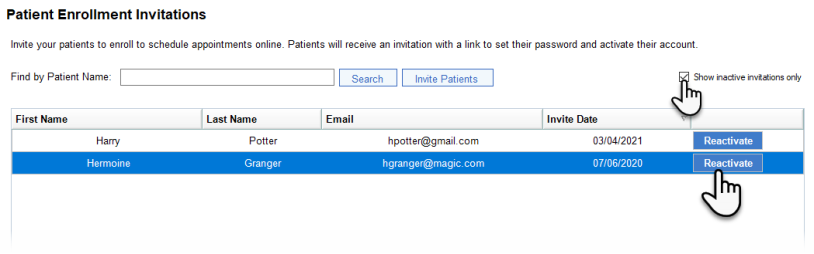
Check the Show inactive invitations only box to show prior invitations that were deactivated. From here you can reactivate the invitations and add them back to the list of current patient enrollment invitations.
IMPORTANT: Observe that in the example below, Select All has been clicked. Only patients with email addresses and Consent set to "Yes" will have their boxes checked. These are the requirements for sending invitations. Without both, the box cannot be checked.
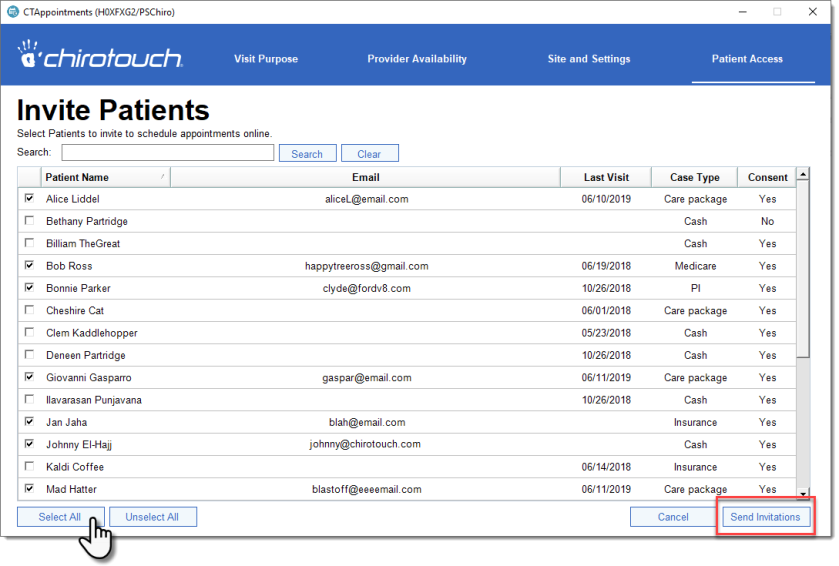
Once you've finished selecting patients, click Send Invitations. This sends each patient an invitation email and creates an account for each patient in your Online Appointments site . The Invite Patient screen will then close, returning you to the main Patient Access screen where you can see that all invited patients have been added to the Patient Enrollment Invitations list.