Add a Patient as Checked-In
To add a patient to the Checked-In column:
- On the Front Desk Patient Flow screen, click Add.

- Select an existing patient and click Next, or add a new patient.
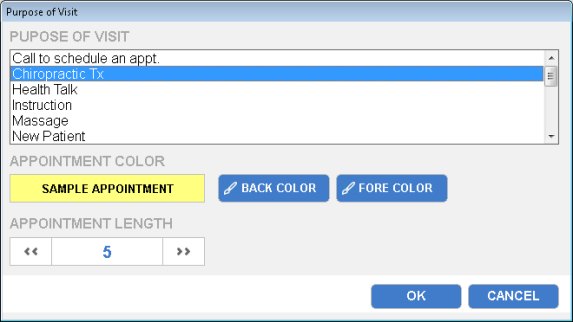
- The Purpose of Visit dialog box appears, allowing you to assign a purpose to your patient’s visit, as well as assign an appointment color. Click OK.

- The Select Room Number dialog box appears. Choose a room and a provider for this appointment, and click OK.

- Select your patient’s visit purpose and appointment colors, and click OK. You may select one or multiple visit purposes for your patient.
- To complete the patient’s check-in, click OK. To cancel this patient’s check-in, click Cancel.
If you do not select a room or a provider, an alert displays asking you to choose these options in order to continue.
Any other alerts set to display for this patient upon check-in display at this time.
Your patient then appears in the Patients Checked-In column.