Signing of Chart Notes
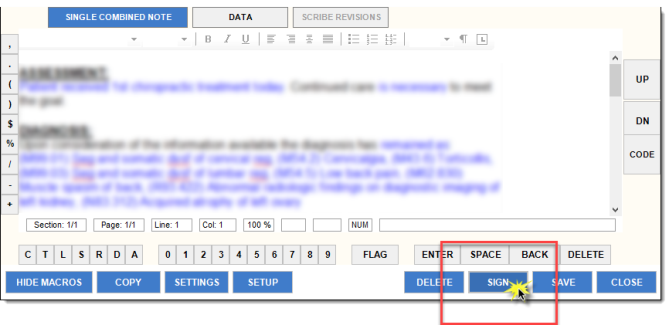
To sign a chart note, you (the provider) begin with clicking the SIGN button at the bottom right of the Chart Notes window:
Then, from the Sign it pop-up, choose a method by which to sign your note:
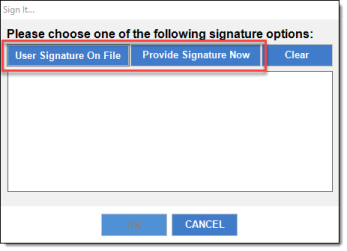
BEST PRACTICE: Entering a signature requires the use of either an iPad configured with CTM Provider, or an ePad installed at your workstation. See the Providers signature section in Maintenance for adding an on-file signature to a provider's profile.
NOTE: Signing will require you to enter your Provider login credentials each time sign.
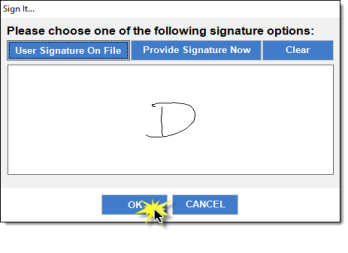
When your signature has been added, click OK:
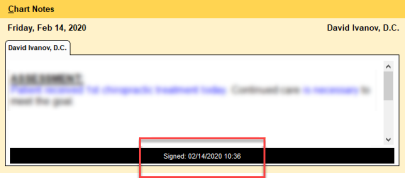
Once your note has been signed, a time-stamp will appear at the bottom of the every screen in Provider All-In-One where the chart note is viewable, to indicate that the note has been signed and when. For example:
Printing Signed Notes
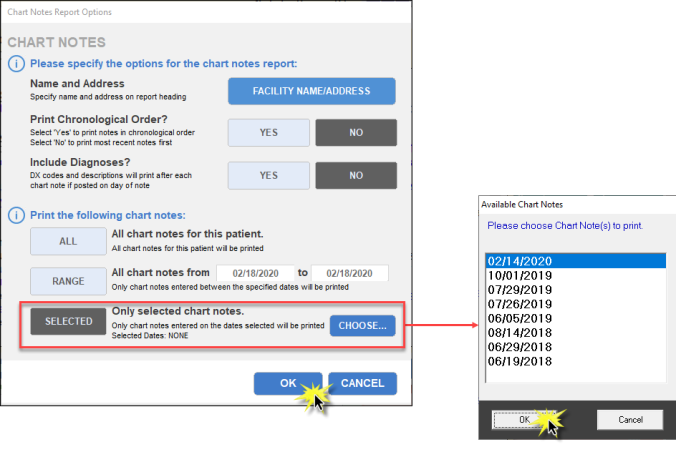
You print a signed note by the standard method of selecting the note from the list and clicking PRINT:

This Chart Notes Report Options pop-up will then appear, offering various options. In this example we select to print just the chart note described above:
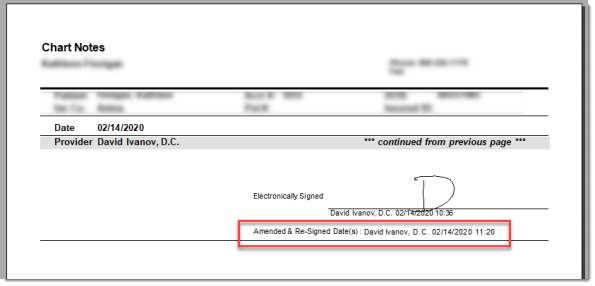
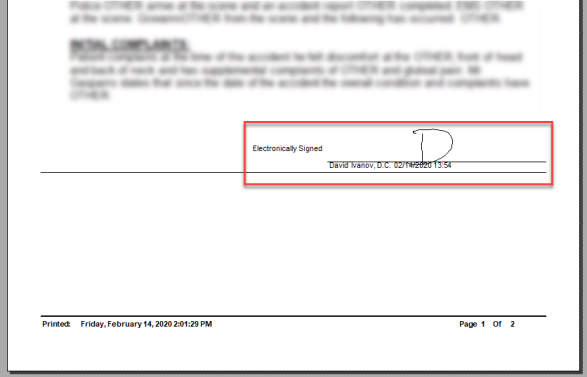
Once previewed, you can see that the printed note will contain the signature, provider name, and date:
Subsequent Signing of Edited Notes
NOTE: Only the original author can edit a past note.
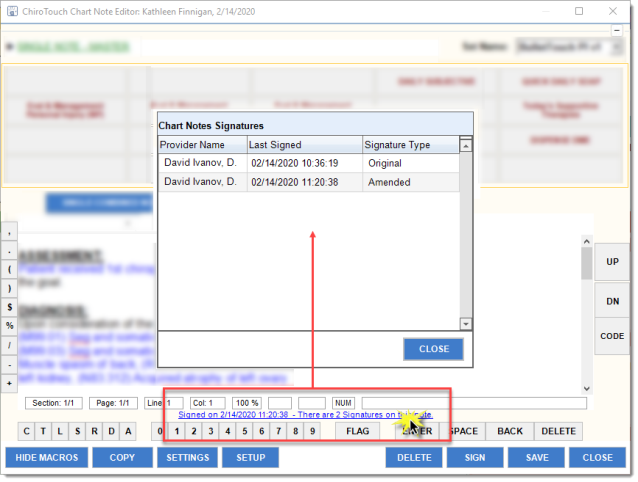
After you edit or append a past note and then re-sign, the notification of signature at the bottom of every view in Provider All-In-One will indicate how many signatures have been placed on this note. For example:

Clicking on the signature information line will open a Chart Notes Signature window. This lists details on all signatures applied to the note. For example:
Printing Signed Notes
Printed chart notes will also display this additional signature information: