Exporting Claims from the ChiroTouch Application
Before you include a patient in an EDI claim, you must first enable that patient for EDI transmissions.
Enable a patient for EDI transmissions
- Log in to the ChiroTouch Front Desk application.
- Click the Patient Mgmt button and select your patient from the list.
- Click the Insurance button.
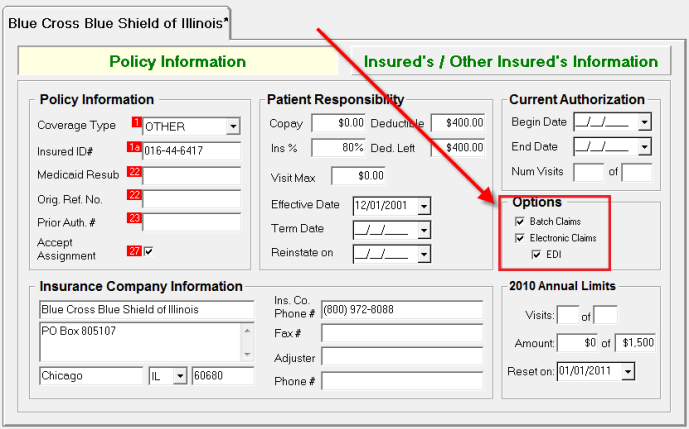
- Under the patient's policy information, check the Electronic Claims and EDI boxes.
NOTE:
If the patient has multiple active insurance policies, then you may need to enable secondary payer EDI information on the claim.
You must choose to either export a patient's claims in HCFA format or EDI ANSI format. You cannot export the same claims in both formats through the ChiroTouch system.
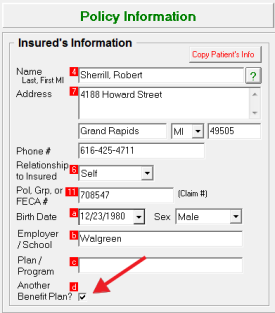
If you are required to send information about other payers on the claim for coordination of benefits (COB) purposes, then check the Another Benefit Plan? box on the Patient Insurance screen as shown below. If this box is checked, the EDI claim for this insurance company will include information about all other active insurance companies registered with this patient.
Name Parsing Rules and NPIs
To correctly submit EDI claims, EDI transmissions require all names to be broken down to last, first, middle, and suffix. A few simple text parsing rules are required when entering names into ChiroTouch, as described below.
Patient Name
The patient name used for EDI is taken from the Patient Billing Name field as shown below.

Insured Person Name
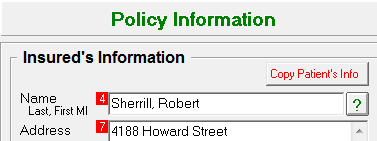
Insured name under the Policy Information screen must be entered in Last, First M., Suffix format as shown below. (Middle name and suffix are optional.) Pay close attention to spaces and commas. These are used as separators for name parsing.
Exporting Patient Claims
To export a patient's claims:
- Click on the Billing/Statements/Reports button.
- Select the EDI tab.
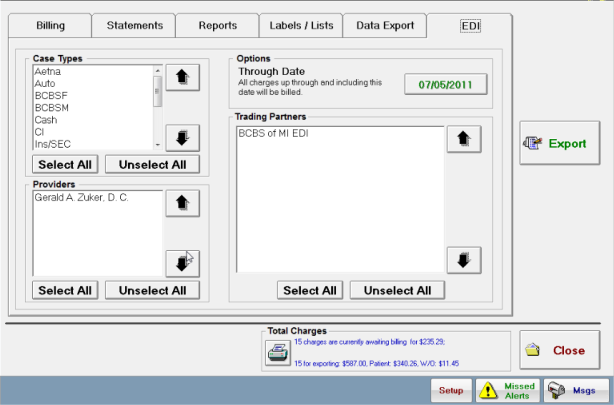
- If you have more than one trading partner, select the appropriate trading partner from the list.
- Click the Print/Preview button.
- Click the Preview to view which charges are waiting to be exported.

- N O T E
To track your exported claims, print this report for your records. - Click the Export button. Your claim will be exported to the folder that you specified in the Interchange Options section of the Accounting application.
- Click the Preview to view which charges are waiting to be exported.
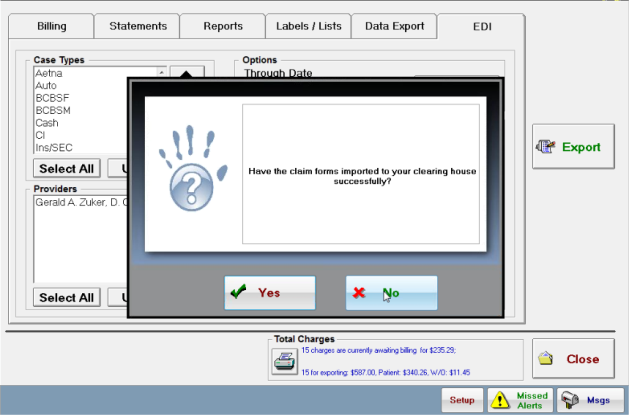
- You will be prompted to verify that you successfully imported the claim forms to your clearinghouse.
- Click the Yes button to mark those services as billed in the system.
- Click the No button to keep those services in their original state.
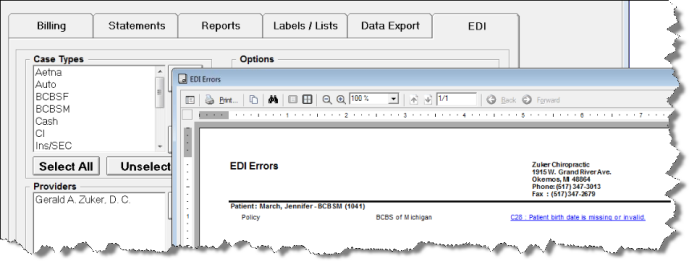
- If the system notifies you of an error, click the OK button and click the Preview button to view the EDI Errors report.
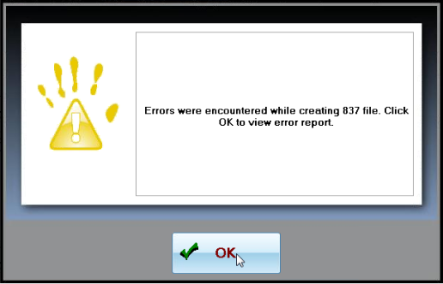
The error report will provide information about the specific error encountered. Correct the issue and re-export the EDI claim.
