Patient Profile
The patient profile contains the patient's demographic information, billing information, and claims information.
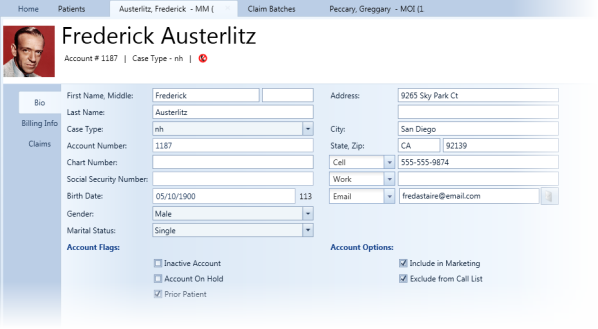
The changes you make in the patient profile will be reflected in the Front Desk application as well. You can choose to auto-save your changes or save the changes manually by clicking Save.
To enable auto-save in the patient's profile:
Select Auto-Save in the lower-left corner of the patient profile screen.
NOTE:
If you do not enable auto-save, the changes you make will not be saved until you click Save.
The bio tab contains demographic information, account flags, and account options.
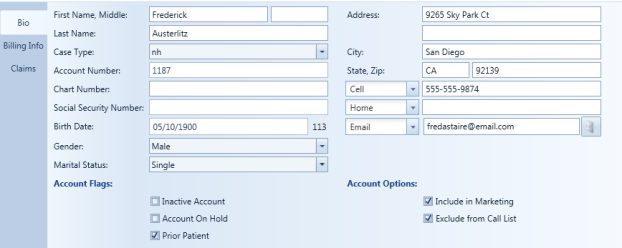
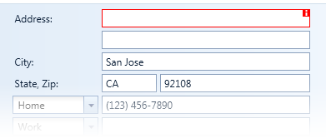
Required fields left empty are outlined in red. These fields must be populated with data before saving.
The flags seen on the Patients screen and profile are controlled by the Account Flags and Account Options on this tab.

An error displays if the same phone type is selected for both phone number fields.
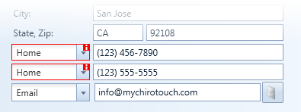
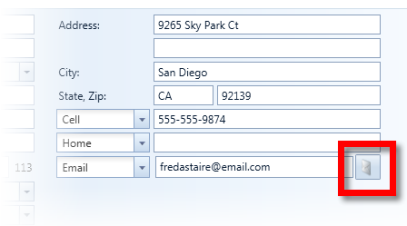
You can email a patient directly from this screen by clicking the email icon.
The Billing Info tab contains the patient billing name, service location, billing options, common claim information, and patient consent options.
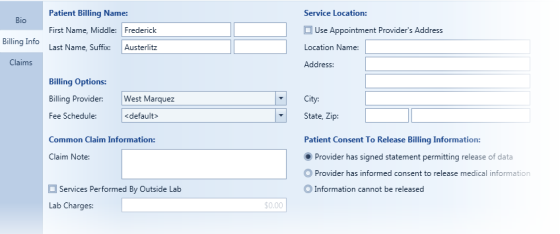
You can use this tab to set the patient's billing options like you would in the Front Desk application. There are a few differences:
- The patient billing name field is separated into smaller components instead of using a single line, making it easier to correctly enter the patient's first, middle, and last name and suffix.
- The service location field is also separated into smaller components instead of using a single line.
- The Services Performed By Outside Lab option is the same as the Outside Lab? option on the Front Desk Condition tab.
The claims tab allows you to add, view, correct, and void claims for the patient.

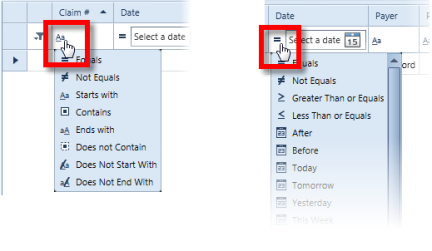
You can filter the claims by date, payer, rendering provider, amount, or status. Click  or
or  to view and change the filter criteria options.
Sort the columns by clicking the column header. Click it again to reverse the sort.

Sort by multiple columns by holding CTRL and clicking the columns by which you wish to sort.

To view line items on a claim, click the arrow next to the claim.

- Select the claim.
- Click View. The claim will open in another tab.
- Click Add. The Create New Claim wizard appears.
- Select the insurance policy and charges. If you wish to export the batch immediately after creation, select the Export Batch after Creation option. If you do not select this option, the claim will simply be added to the batch.
-
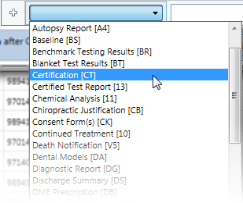
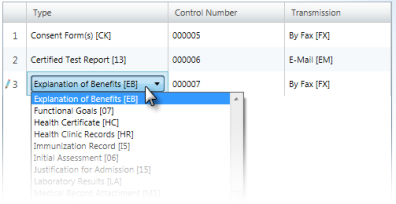
Specify claim attachments. Click the drop-down menu next to the plus symbol to select an attachment type.
-
Enter a control number OR click the key symbol to have ChiroTouch generate a unique control number.

-
Click the drop-down menu on the right to select the transmission type (fax, email, etc.).

You can add multiple attachments and edit the type, control number, and transmission in this same step.
- When finished adding claim attachments, click Finish. The claim appears in the list of claims with the New statusas well as the claim batches with the Ready status.
- Select the claim.
- Click Correct.
- Enter the payer-assigned Claim Control Number (DCN).
- Click OK. The claim will be added to the next batch.
- Select the claim.
- Click Void.
- Enter the payer-assigned Claim Control Number (DCN).
- Click OK. The claim will be marked as Canceled and will be added to the next batch. The charges are marked as Waiting to be Billed.