Case Manager
The Case Manager feature allows you to manage patient account links, add case types, and set the default case type from any screen in Patient Management.
Enable the Case Manager and set your default Case Manager options
See Case Manager in Patient Management Setup.
Open the Case Manager
Click the blue arrows button in any screen of Patient Management.

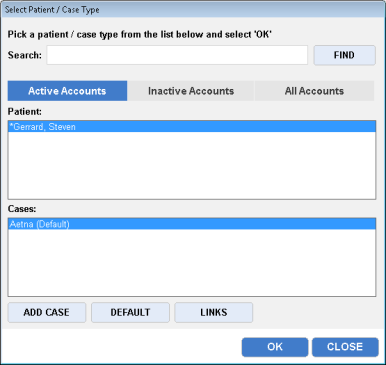
The Case Manager dialog box appears.
You can search for a patient by typing in the search field and clicking Find. Partial searches (one or more letters/spaces) are allowed. Filter the search results by clicking Active Accounts, Inactive Accounts, or All Accounts below the search field.

Add a case
- Find and select the patient.
- Click Add Case.
- Select a new case type.
- Click OK.
Set the default case type
- Find and select the patient.
- Select the case in the Cases list below the patient.
- Click Set Default. "(Default)" will now appear next to the case type, and this account will be the default that appears when you click the patient's name in Patient Management.
Manage patient account links
- Find and select the patient.
- Click Links. The links dialog box appears. The currently linked accounts are displayed on the left. Unlinked cases with the same patient name are displayed in the list on the right. Patient name must be identical (first, middle, and last) in order to allow for linking.
- Select one or more patient accounts and use the arrow buttons to move them to the appropriate list. Note that you cannot unlink the default case type.
- Click OK.
Linking and de-linking of ePay enabled accounts
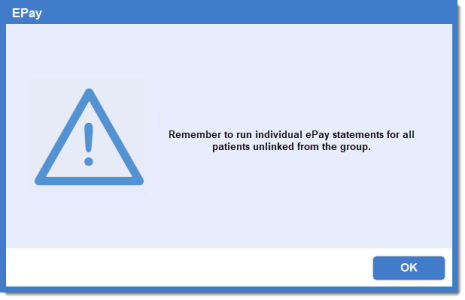
Whenever you link or de-link an eEpay enabled patient account, you will see this message reminding you to run a new, updated statement:


