Exporting and Importing a Patient File
Some practices with multiple databases would like to export a patient from one database to another. This page describes how you can export the following information to another database, one patient per export action:
- Patient information (as is displayed in Front Desk)
- Patient notes
- Treatment notes
- Patient records, e.g. videos, photos, X-Rays, documents
The following patient information will not be exported during this process:
- Chart notes
- Diagnoses
- Charges
- Ledger
- Insurance information
- Appointment history
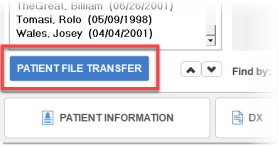
When enabled, the Front Desk's Patient Information screen will contain a Patient File Transfer button that you use to begin the export process:
Using this feature, a patient's information can be pulled together and bundled conveniently into a new folder on the ChiroTouch server machine. This folder (patient file) can then be sent to another facility/server as needed and then easily imported into that server's ChiroTouch database.
ChiroTouch technical support will need to configure your installation so that the button appears and so that a patient-file bundle (a folder created by the transfer process) has an accessible local destination. For the purpose of this discussion we will say that the location on your server is this:
C:\Program Files (x86)\PSChiro\Database\Patient_File_Transfer
It is in this location that you will later find your patient-file folders.
The export process works as follows:
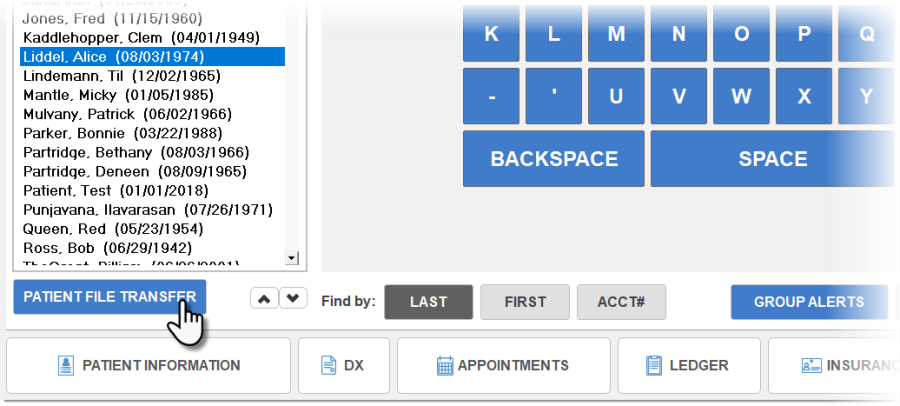
- Select the patient you want to export, then click Patient File Transfer.
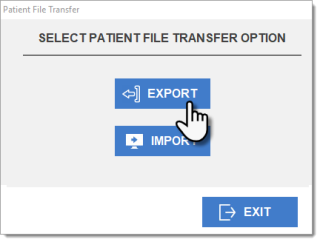
- In the Patient File Transfer pop-up, click Export.
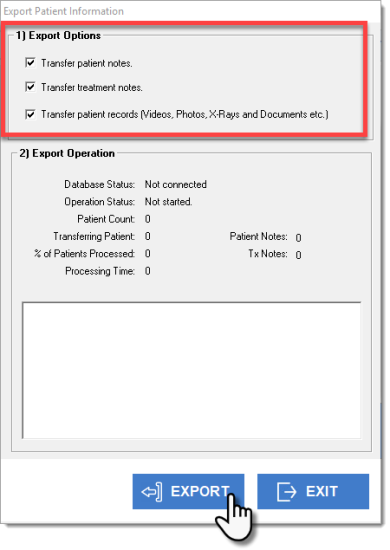
- At the Export Patient Information dialog, under Export Options, select at least one of the check-boxes. (The export cannot occur unless you select at least one.) The Export Operation section will later show statistics from the export process. When finished making your selections, click Export.
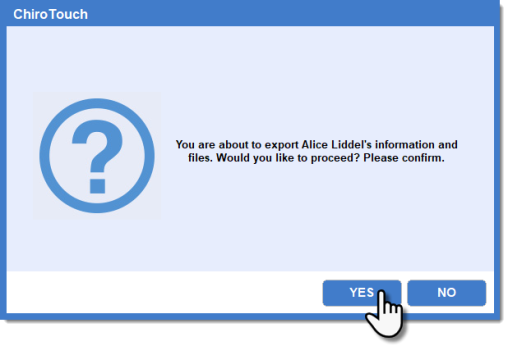
- At the confirmation prompt, click Yes. The patient information will be gathered and copied to the location specified in Setup above.
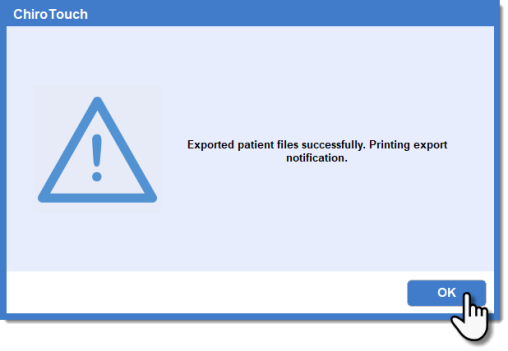
- Once the export completes, you will see the following message. Click OK.
- This Alerts dialog will appear, showing you the report from the export operation. The key pieces of information in this report are the username (your practice's License ID) and a password. These will be needed at the destination facility once the import takes place.
See here for explanation of this dialog's Export button.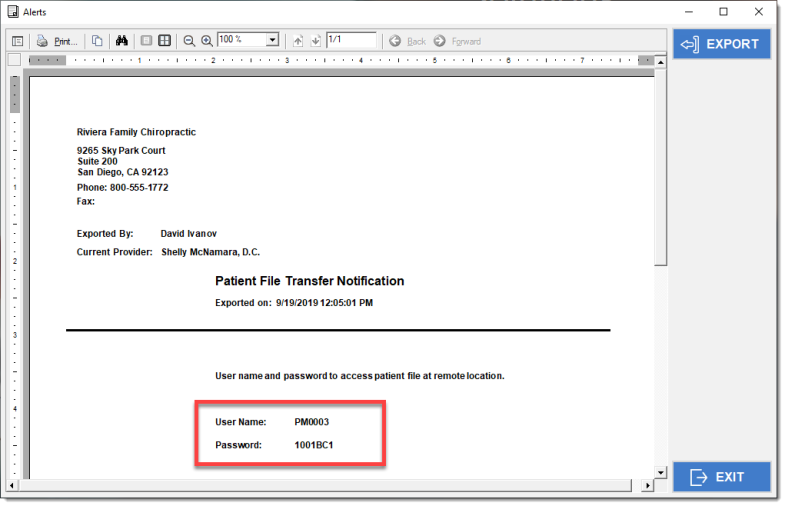
- Return to the Patient Export Information dialog where you can see the statistics of the successful export. When finished, click Exit.
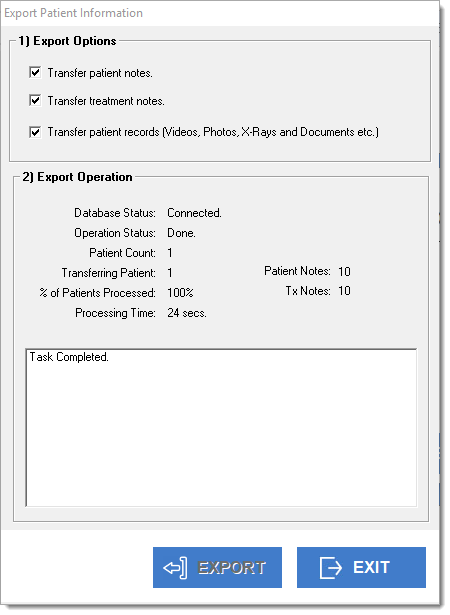
Once the patient information has been exported, you can open an Explorer window on your server and find the new directory in the specified folder. Note that the folder name is also your License ID. This can be passed to another facility needing to add this patient.

"Exporting" the Report
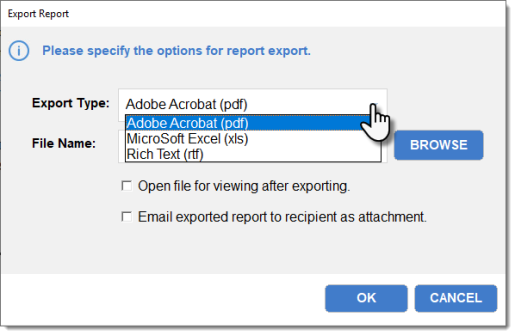
Clicking the report's Export button lets you save the report in any one of the following formats: PDF, Excel spreadsheet, or as Rich Text. Select a format and then click Browse to chose where you want the document saved. You can also select to open the file after creating it and also to send out this document as an email attachment.
When finished, click OK.
IMPORTANT: The receiving party will also need to have their system configured exactly as was done in the Setup section above.
As a recipient you will need to place the patient's directory in your server's file transfer location:
C:\Program Files (x86)\PSChiro\Database\Patient_File_Transfer
The importation process will then go as follows:
- Open the Front Desk, then Patient Information. Then click Patient File Transfer.
- In the Patient File Transfer pop-up, click Import.
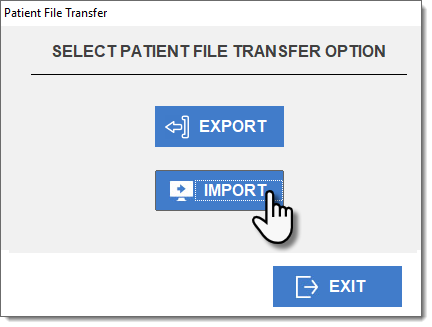
- Import Login dialog will open.
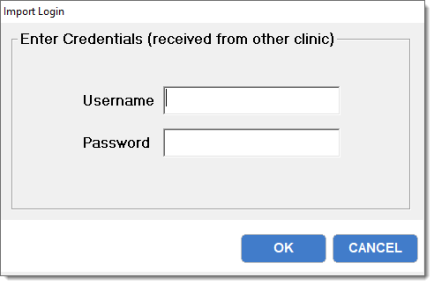
Enter the credentials given to you by the other exporting office. Then click OK.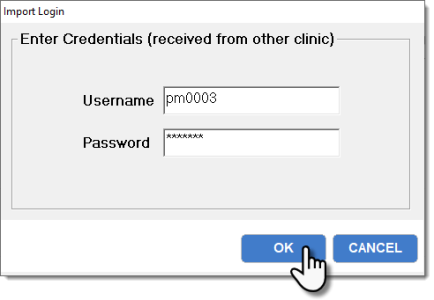
- In the Import Patient Information screen, click the Export button.
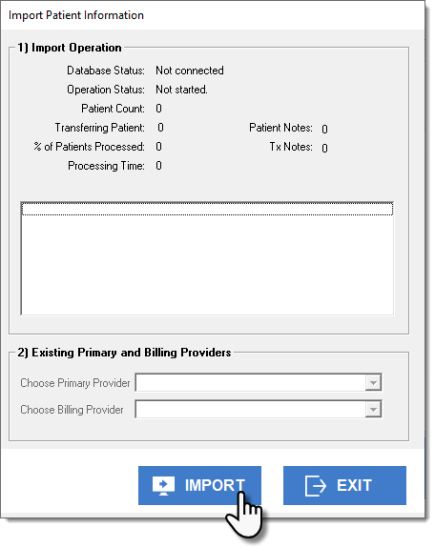
- The import will then proceed. When finished, you will see a confirmation message. Click OK.
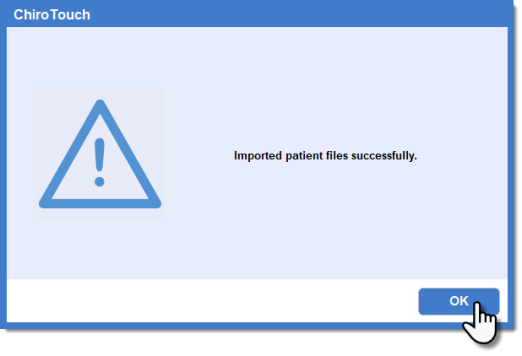
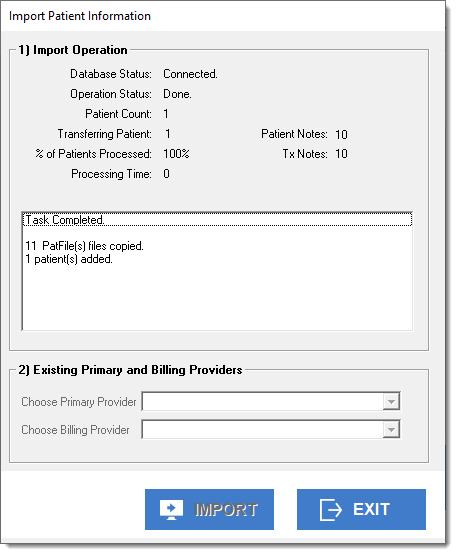
- The Import Patient Information screen will now show the results of the importation. When finished viewing, click Exit.
