Using the Ledger's Print Button
Click Print to print a ledger, statement, appointment receipt, superbill, or claim form.
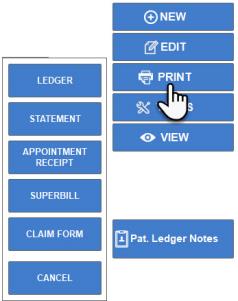
- Ledger – Click Ledger to print the current ledger. Make sure that you are viewing the ledger you would like to print. If you are viewing the Charge Details, this button will be labeled "Charge Details" instead of "Ledger".
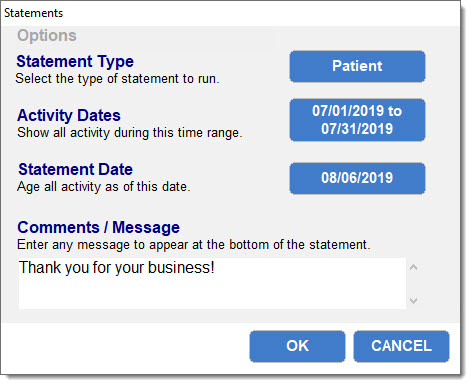
- Statement – Click Statement to print a statement. The Statements dialog box appears.
- Click the button to the right of Statement Type repeatedly to cycle through the choices of patient, insurance, account, attorney, ePay (for ePay subscribers only), or mileage statement.
- Click the button to the right of Activity Dates to choose a date range for which to print a statement.
- Click the button to the right of Statement Date to set the date of the statement.
- Click in the Comments / Message field to enter a message to appear at the bottom of your statement.
- Click OK to apply these selections.
NOTE: If your patient has linked accounts, you are asked if you would like to print a statement for the group. Click Yes to print or preview a group statement, click No to print or preview only a statement for this patient.
NOTE: You are asked if you would like to save this statement date. To retain a record of this statement, click Yes. You may view a record of all saved statements at any time by clicking View>Statement History in this Ledger screen.
- Appointment Receipt – Click Appointment Receipt. A Select Appointment Date dialog box appears. Select the appointment receipts to print. Click OK to include these appointments.
- Superbill – The Superbill allows you to print a bill for your client that displays all charges for a given time period. This report can be offered to patients to help them receive reimbursements from FSA (Flexible Spending) and HSA (Health Savings) accounts. The superbill will display today's date, the selected service dates, the patient's information, the patient's diagnosis, and a list of charges.
- Claim Form – Click Claim Form to print a claim form.
- The Select Insurance Company dialog box appears. Select the insurance company for which you would like to print a claim form, then click OK.
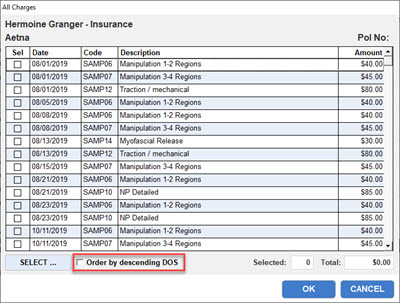
- The All Charges dialog box appears. Select the charges you would like to include in the claim. Select the Order by descending DOS checkbox to sort the date of service by ascendant or descending order. Use Select to select all charges, unselect all charges, or select charges by date, then click OK.
A dialog box appears asking you whether you would like to print your claim form now. Click Yes to print your claim form. Click No to print the claim form on the next billing cycle.
Printing and Emailing Patient Receipts
Patient payments allow for you to print receipts from Transaction Details. To do this:
- From the ledger, double-click a patient payment to open the Patient Payment Details screen.
- Click the Receipt button. This will open a print-options dialog. You will see options to either print or email the receipt.
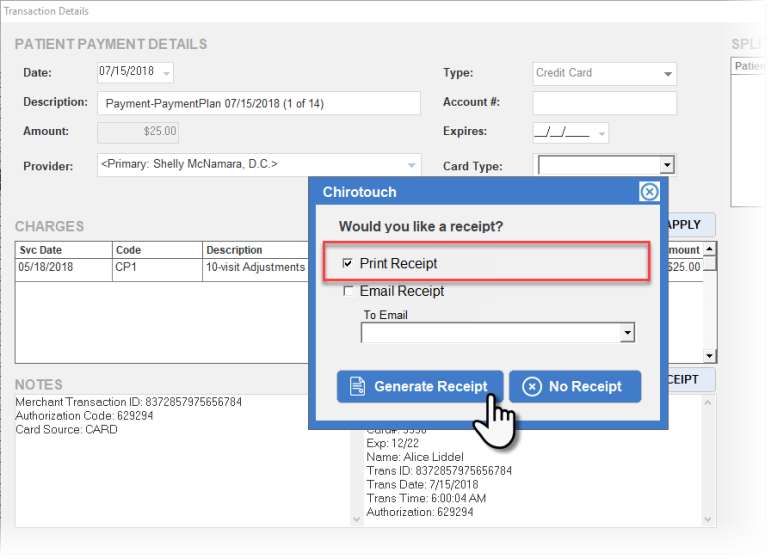
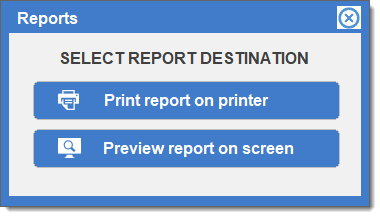
- Select this option and click Generate Receipt. You will have the option to print the receipt or see a preview on screen.
- From this stage you can print the receipt right away or preview it onscreen.
Emailing a Patient Receipt
NOTE: In order to send email receipts, your clinic must also have an email address. Your clinic's email address can be configured in Maintenance under Site Information.
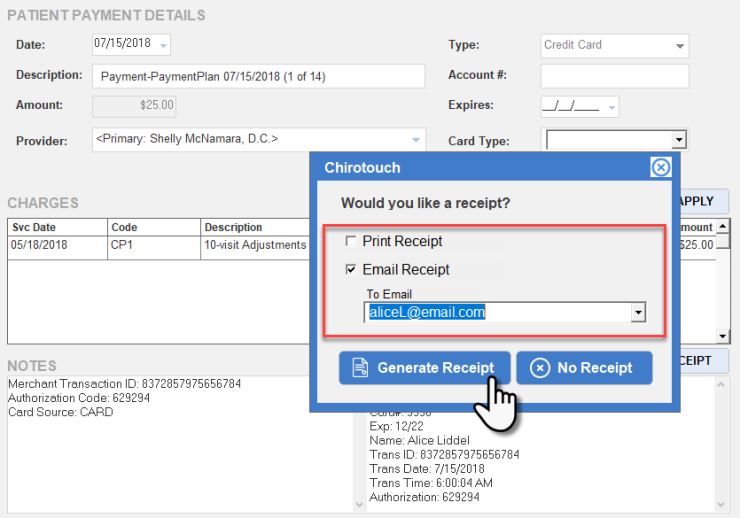
If you do not yet have an email address configured for your clinic, you will be prompted to create one.Select the "Email Receipt" option. Verify that the patient's email address appears:
- If multiple emails are available, confirm which one is the patient's preference
- If no email address appears, obtain the patient's email and enter it in the textbox
Then click Generate Receipt.
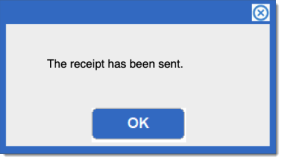
When the email is sent, the following message appears:
