Diagnoses (Dx)
Use the Diagnoses section to add and manage your patients’ diagnoses. There are many ways to select and post diagnoses quickly.
 Dx Posting and Patient Check-In
The Dx section is one section in Provider All-In-One that affects the patient’s status (Opening a Patient’s File). Posting a diagnosis will automatically check in the patient, even if the patient has not yet arrived. Likewise, you will be prompted to create an appointment if you post a diagnosis and the patient has no scheduled appointment for that day.
You cannot return a patient to an "arrived" status once a diagnosis has been posted. If you need to return the patient to an arrived status, you must first clear all posted diagnoses.
Managing Diagnoses
To sort the order of diagnoses in your list:
- Click any diagnosis in the section.
- Use the arrows to the right to move the diagnosis up or down in the list.
To delete a diagnosis:
- Click the diagnosis in the section.
- Click the Delete key on your keyboard to remove the selected diagnosis from the list. You can also delete diagnoses by using the Change button.
Entering Diagnoses
If you selected the Auto SALT option in the Options setup (Setup Options), the diagnoses from the patient’s last treatment will be automatically loaded here. This function is predetermined in the Options dialog box. Diagnoses are posted automatically when the patient is checked in using the Next button.
In Provider All-In-One, you can now search for either ICD-9 or ICD-10 codes. Select the appropriate ICD button and type your search.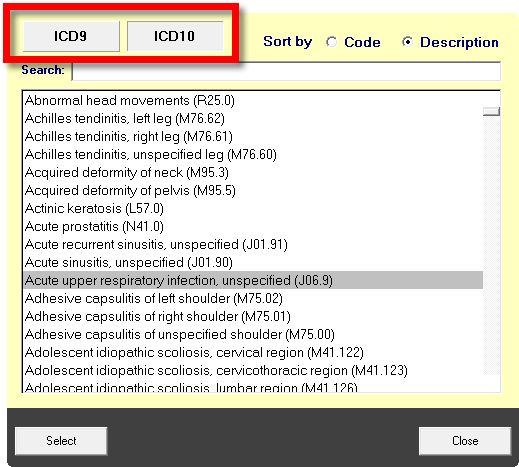
These buttons also appear on the Dx Entry window: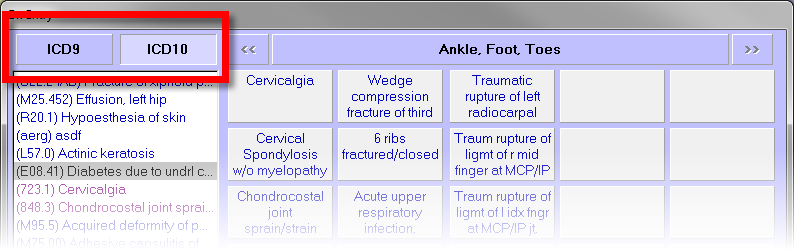
An ICD-10 Wizard has been incorporated in Provider All-In-One on the Dx Entry screen (click Change to access this screen). Click ICD10 Wizard to use the wizard to select appropriate ICD-10 codes based on the ICD-9 codes you have entered. Diagnoses (Dx) for more information.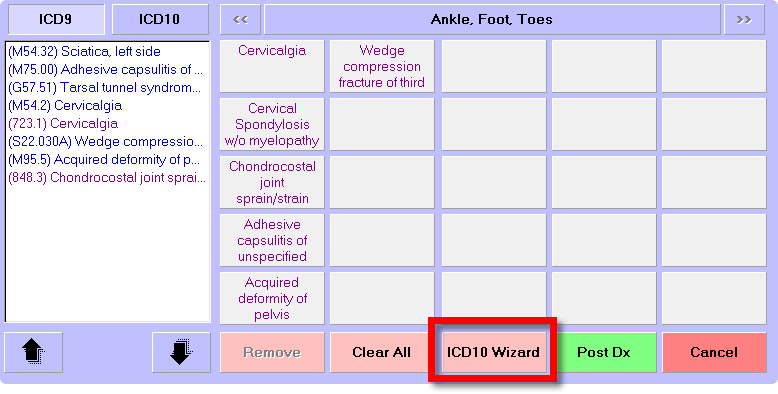
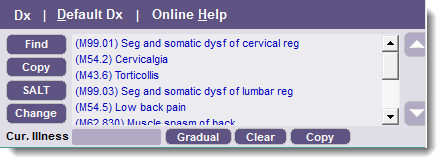
Find Dx
Click Find to scroll through a comprehensive list of diagnoses.
To search the Dx codes:
- Click either ICD9 or ICD10 depending on which ICD code set you wish to search.
- Sort the list by selecting either Code or Description. If you are sorting by Code, your search must be entered in numerical values. If you are sorting by Description, your search must be entered in letters.
- Type your search in the Search text box.
- Click one or more diagnoses in your list, and then click Select to apply the diagnosis to the current appointment. To select multiple diagnoses, hold down the CTRL button on your keyboard while making your selections.

Copy Dx
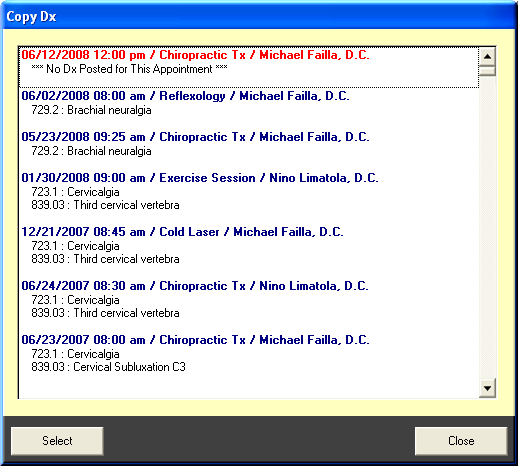
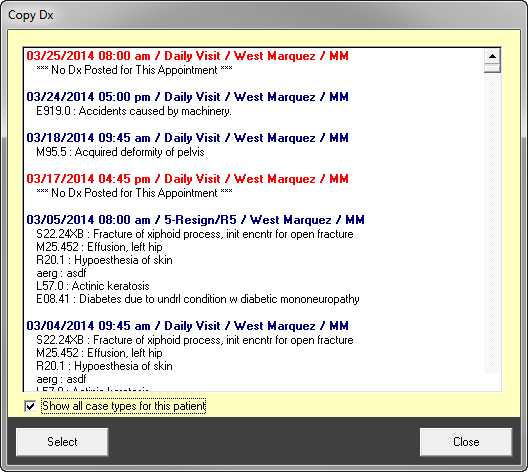
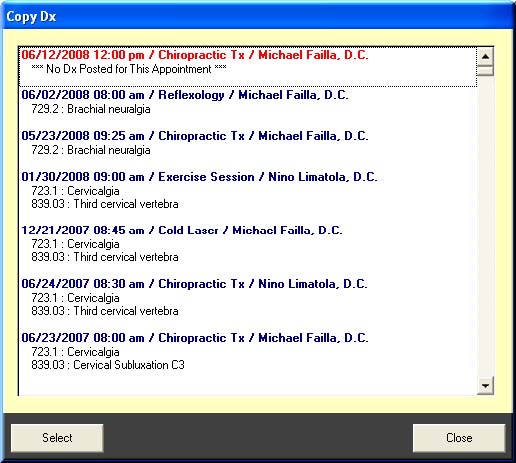
Click Copy to copy diagnoses from any previous visit. Scroll through a list of past appointments and their diagnoses. To show all case types for the patient, select the Show all case types for this patient option.
Click an appointment, and then click Select to apply these diagnoses to the current appointment.
SALT Dx
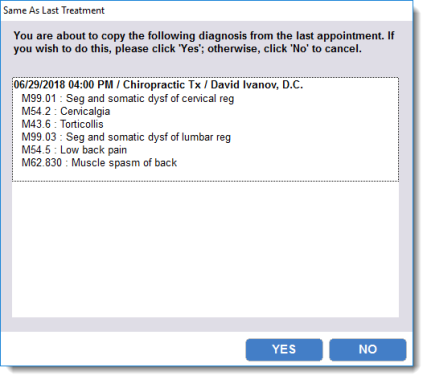
Click SALT to copy diagnoses from the patient’s last documented visit. If the patient’s last visit contained posted diagnoses, you only have the option to copy from the last appointment. Click Yes to apply the diagnoses to the current appointment.
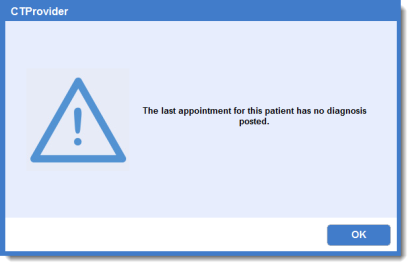
If the patient’s last visit did not contain any posted diagnoses, you will receive a pop-up dialog box from the system, informing you that there was no diagnosis posted. You must click OK to confirm this message and continue.
After exiting the confirmation dialog box, the system displays the Copy Dx dialog box. Here, you will select a diagnosis from a previous visit.
Change Dx
Click Change to:
- change the current diagnoses displayed in the Diagnoses section
- add new diagnoses to your current diagnoses
- post new diagnoses as an alternative to the Find option
After clicking Change, the Dx Entry dialog box appears. In the upper-left corner, select the ICD code set you wish to view. The area to the left lists your current diagnoses, if any are posted. To sort the list order, click a diagnosis in the list column and then click the arrows below to move the diagnosis farther up or down the list.
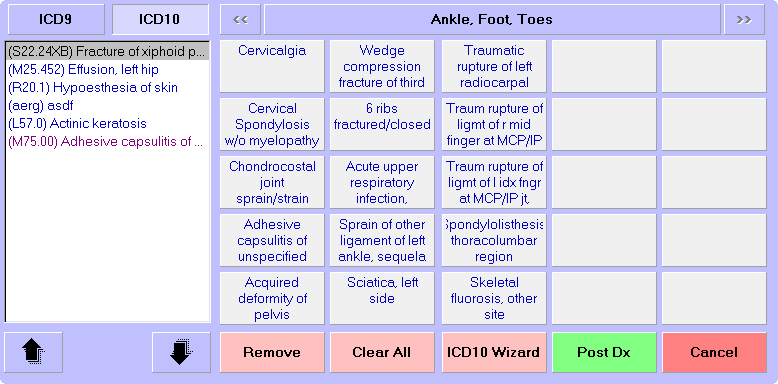
Above the diagnosis buttons, the main heading represents the category for each group of diagnoses. Click this heading to access a drop-down menu of further categories. When you select a new category, the diagnoses buttons associated with that category will display. Click a diagnosis button to add that diagnosis to the diagnosis list.
To remove a diagnosis:
- Click the diagnosis
- Click Remove. Click Clear All to clear the entire list.
After you add and/or modify diagnoses, click Post Dx to save your changes and exit the dialog box. Click Cancel to cancel your changes and exit the dialog box.
ICD10 Wizard
If you have ICD-10 enabled, you will see a button for the ICD10 Wizard. The wizard helps you choose an ICD-10 code based on the ICD-9 codes you have entered.
-
Click ICD10 Wizard. The ICD10 Wizard screen appears, displaying a list of the ICD-9 codes you have entered and a list of corresponding ICD-10 codes.
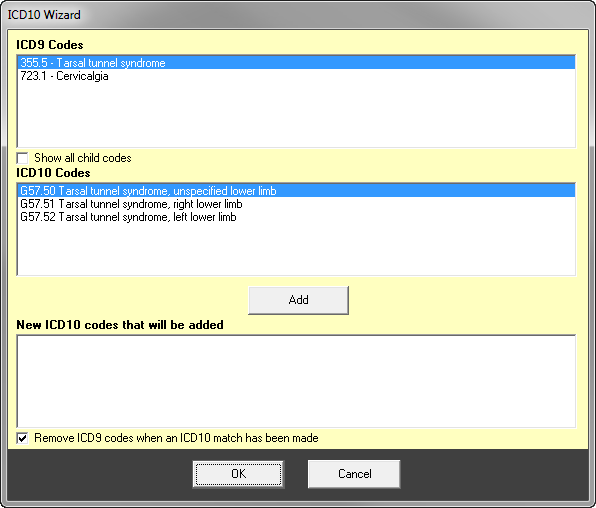
You can show child codes by selecting the Show all child codes option.
-
For each listed ICD-9 code, select the desired ICD-10 code and click Add. The ICD-10 code appears in the New ICD10 codes that will be added list.
If you want the ICD-9 code to be removed from the list when a match has been made, select the Remove ICD9 codes when an ICD10 match has been made option at the bottom of the screen. If you want the ICD-9 codes to remain in the list, clear this option.
- Click OK.
Dx Injury Date
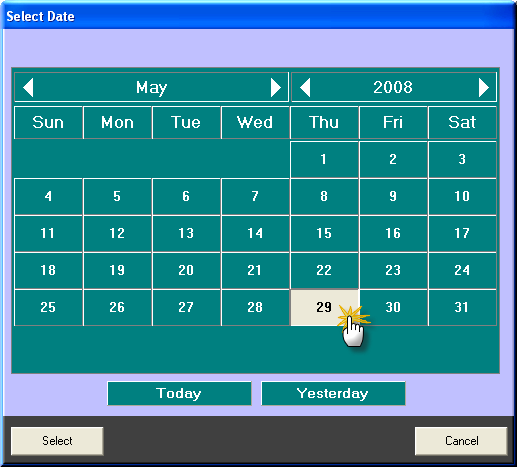
A current illness date box is located at the bottom of the Dx section. This date represents the patient’s current illness date. You can change the current illness date directly through the Dx section, if needed.
To change the current illness date:
- Click the current illness date box to access a pop-up calendar. Select a new date, and then click Select to save the new illness date and exit the calendar box.
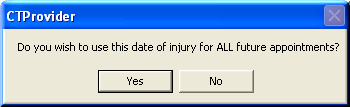
- After selecting a new date, a dialog box appears. If you want to apply the new date to all future appointments, click Yes. If you want to apply the new injury date to only the current appointment, click No.
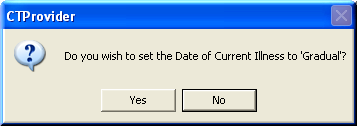
- You also have the option to assign a gradual date of onset. Click Gradual located next to the current illness date. The system will produce a dialog box, asking you to verify the change. Click yes to verify this change.
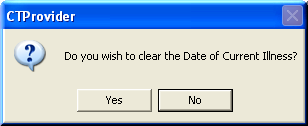
- Click Clear to clear the current illness date. This clears the date entirely from the current appointment. The system will produce a dialog box, asking you to verify the change.
Copy Illness Date
After you change the current illness date, you can copy this new date to past appointments. Click Copy. A dialog box appears, containing a list of illness dates tied to all past appointments. Select those appointment dates to which you want to apply the new illness date.
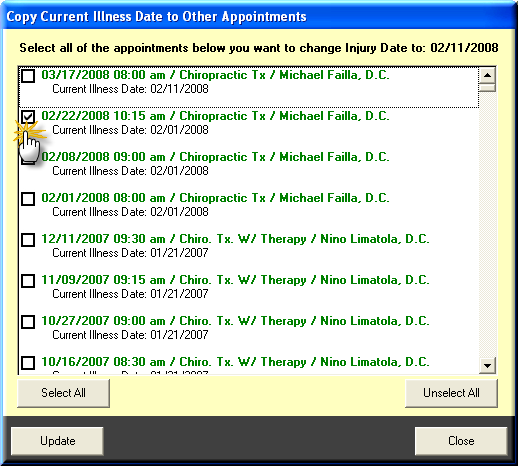
Illness dates are tied to the appointment, not to the patient. Therefore, a patient may have more than one illness date assigned. Because illness dates are appointment based, they will be reported to insurance companies and other agencies that require this information. Because you are diagnosing an illness and posting charges related to the treatment of this illness, the illness dates should accurately reflect the treatment plan. Be sure that your appointments display the correct illness date before you submit your claims.

If the patient’s last visit did not contain any posted diagnoses, you will receive a pop-up dialog box from the system, informing you that there was no diagnosis posted. You must click OK to confirm this message and continue.
After exiting the confirmation dialog box, the system displays the Copy Dx dialog box. Here, you will select a diagnosis from a previous visit.