Images Window
The images window displays up to six photos. From this window, you have the option of editing images right on your iPad, viewing images side-by-side in full screen view, moving and sorting images, and selecting new images to display. The images shown match those of your CT Provider All In One application. If you have five or fewer images in the window, the Add button appears to the right of the images.

Adding an Image to the Images Window
Tap the Add button to view options for adding an image. Adding an image with these options creates the image in the actual patient record. Select from the following options:
- Take Photo - Allows you to take a photo using the camera function on your iPad. You can then enter a file name to save it to the patient folder, or you can add a new folder for the image.
- Choose Photo from iPad - Allows you to choose an image from your iPad. Tap an image to select it. Pinch or spread the photo to scale it. Drag the photo to move the viewable area on screen. Then tap the Use button to add it to the viewable images. You can then enter a file name to save it to the patient folder, or you can add a new folder for the image.
- Choose from ChiroTouch - Allows you to choose an image from the Patient Records images folder. Tap a folder to open it. Tap the left arrow to go back. Tap an image to select it or view it in the image preview pane. Tap the Save button to add the image to the viewable images.
- Take Posture Photo - Allows you to take a posture photo with overlaid crosshairs. Align the patient with the posture alignment crosshairs and tap the camera button. A preview will pop up. Tap the Use button to save it. You can then enter a file name to save it to the patient folder, or you can add a new folder for the image.
- Cancel - Returns you to the images window.
Edit the images on the images window
- Tap the Edit button to view the images in edit mode.
- Tap
 to delete an image. (The image will not be deleted from the iPad itself.) Drag images to rearrange them on the window.
 - When finished, tap the Done button.
NOTE:
If you make a change to an image in your iPad app, the image will change in your CT Provider All In One application as well.
Viewing and Editing an Image
Tap an image to view it in full screen mode. To view the options bar or remove it, tap anywhere on the image.

-
 Spread the image to zoom in.
 -
 Pinch the image to zoom out.
 - Rotate the iPad to view the image in landscape or portrait mode.
- Tap the "Done" button on the options bar to close the image.
Edit an image
Tap the Edit button on the options bar. Drawing options appears at the bottom of the screen.
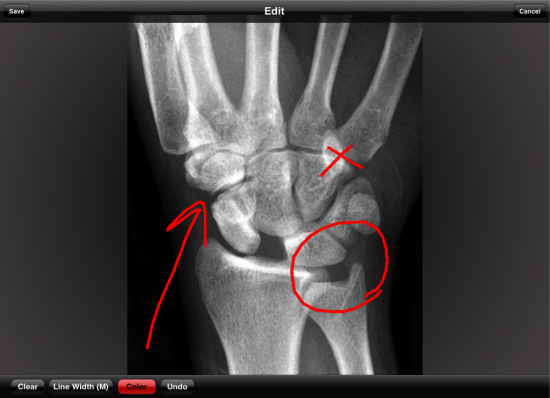
- Drag your finger on the image to draw on it.
- Tap the Line Width button to adjust the line width to small, medium, or large.
- Tap the Color button to select a different color for the drawing line—yellow, red, white, blue, or green. The Color button changes to the color you selected.
- Tap the Undo button to undo an action (one complete drag and release of the finger). You can undo as many actions as you want. There is no redo button.
- Tap the Clear button to clear your drawing and start over. Note that previously saved notations will not be cleared.
- Tap the Save button on the upper options bar to save your notations. When asked Do you want to save over the original image? tap the Yes button to overwrite the original image. If you would like to preserve the original or resume editing, tap the No button to return to edit mode.
Viewing More than One Image at a Time
While touching an image, tap the second image with another finger![]() . This brings up a side-by-side view of the images. Editing is not possible in this view.
. This brings up a side-by-side view of the images. Editing is not possible in this view.
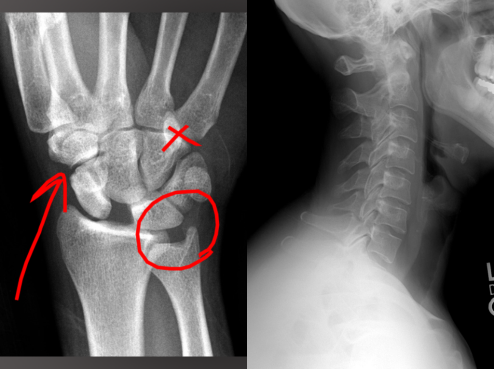
- Spread or pinch an individual image to zoom in or out.
- Rotate the iPad to view the image in landscape or portrait mode.
- Drag the images to move them up or down.
- To return to the appointment details screen, tap the screen to bring up the options bar; then tap the Done button.