ePay Option for Patient Statements
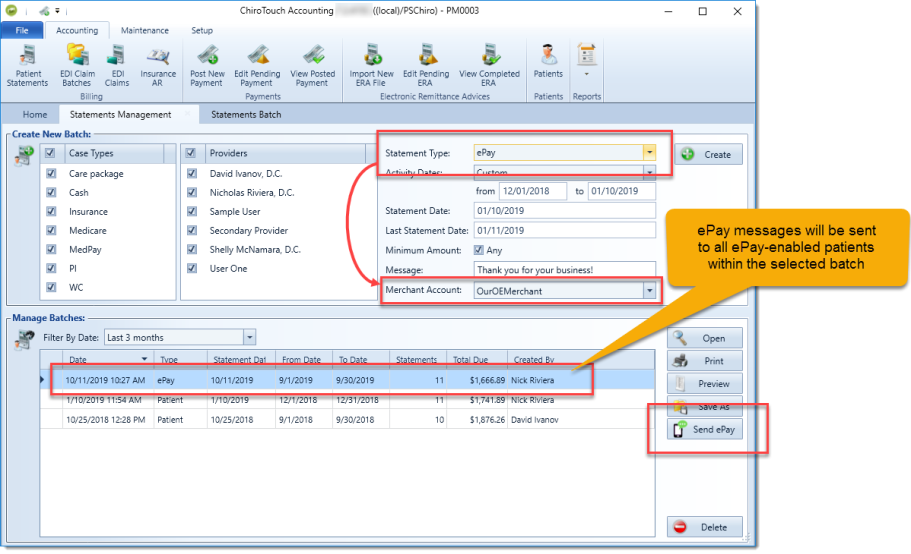
After accessing Patient Statements and then creating a batch, you can send ePay messages easily to all ePay-enabled patients within the batch
- Create and select a batch.
- Select "ePay" or "ePay Remainder" as the statement type. Note: The ePay Remainder statement type will only include charges with patient responsibility after the insurance has been posted and will not include charges that are in a waiting to be billed or billed status.
- The Merchant Account dropdown appears below. Select the desired ePay merchant account or leave it at the default setting.
- Click the Send ePay button. Messages will be sent to all ePay-enabled patients within the batch.
Selecting a batch and viewing the Send ePay button:
The batch can also be opened by selecting it and clicking Open to look more closely at which patients will be receiving ePay statements.
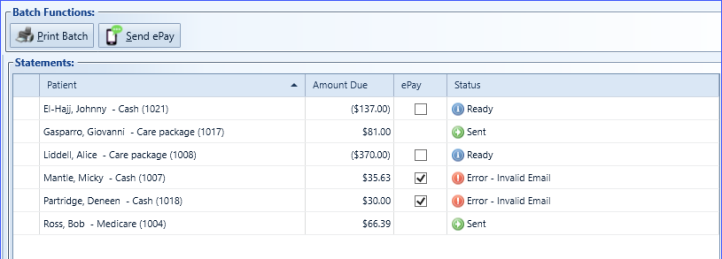
Viewing the list of statements within the Batch:
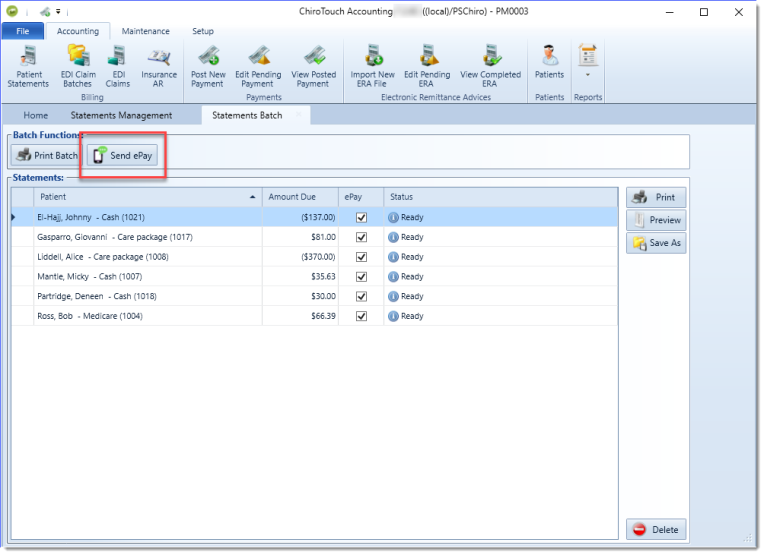
Patients can be removed from the batch by un-selecting the "ePay" boxes, as needed:

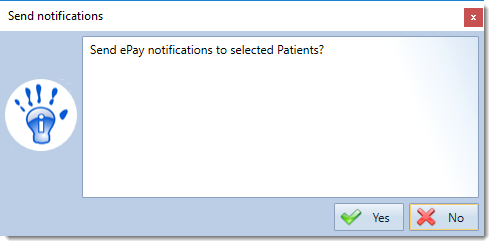
Sending ePay Notifications
From either of the above statement screens, click Send ePay. This message will appear asking you to confirm:
Click Yes. A confirmation message similar to the following will appear:
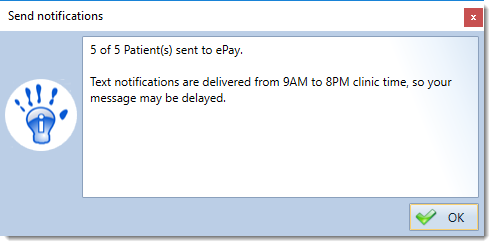
When finished, click OK.
The status for all successfully sent ePay statements will change to "Sent":

View ePay Statements in the Statement History
Your ePay statements will appear in the Front Desk Ledger for each patient. To view this:
- Open the Front Desk from the Launcher.
- Select a patient to whom you sent an ePay statement and click the Ledger button.
- Click View, then Statement History.
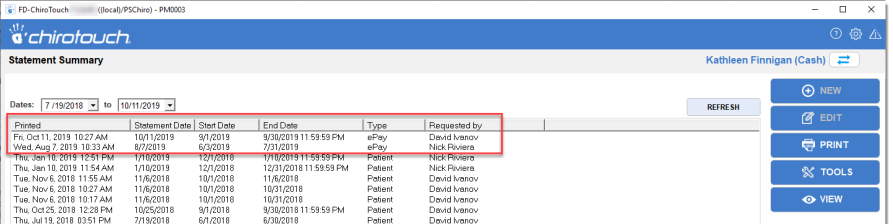
- In the Statement Summary, the ePay statements will be identified under the "Type" column.
Statement Summary showing ePay statements:
Error Indications
In some situations, it is possible that not all ePay statements will be sent as scheduled. When this happens you will see a notification like this, indicating how many messages out of the total were sent out successfully.
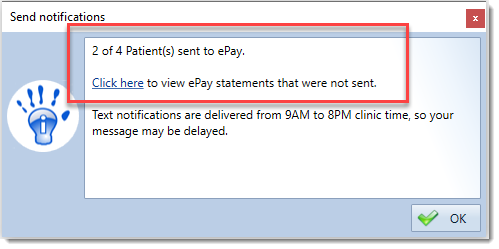
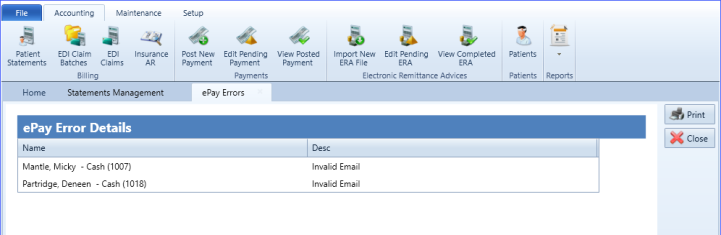
If you click the "Click here" link you will see a list of the errors with the their descriptions:
Clicking OK to dismiss the message will show the statuses in the "Statements" list:
At this stage you have the option to correct these issues:
- Go into your Front Desk and correct the problems with the patients' email addresses in their Patient Information screens (be sure to navigate away in each instance so as to save the new email information) .
- Return to the above statement batch in Accounting and, with the "ePay" boxes still selected, click Send ePay again to send out those statements that had previously shown an error.
If you are unable to correct some invalid or missing emails, you can de-select these patients' "ePay" boxes before clicking Send ePay.
NOTE: The linked-account ePay properties apply here as well. Secondary, or "child" accounts will not be sent an ePay email/text notice.