Diagnoses Hot Button Setup
Hot buttons must be configured in the CT Provider app (not Provider All-In-One). Once configured, they can be used from Provider All-In-One, CTM Provider and CT Provider.
![]()
Adding and Editing Hot Button Categories
You can configure the buttons on this screen to display five different diagnosis categories. To access your hot button setup screen. To do so:
- Open ChiroTouch Provider, click Dx.

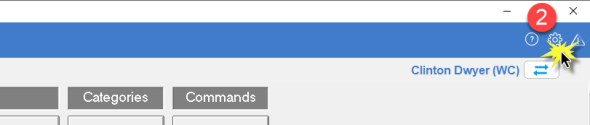
- Click the Setup (cog) icon at the upper right corner of the Dx screen.
Once in the Setup screen, you will be able to assign hot button (diagnosis) categories and add specific codes under each category, or you can copy hot buttons from another provider. Now, click Categories to assign specific diagnosis categories to each of the provided buttons by clicking a category within the list and then clicking one of the empty buttons, as shown below.

NOTE: Although the Maintenance application (where diagnosis categories are created and maintained) is able to hold an unlimited number of categories, you are provided the five buttons seen here to cover your five most-used diagnosis categories.
Editing Hot Button Categories
To edit your list of available categories, navigate to Maintenance > List Maintenance and scroll to the Diagnosis Categories option. (By this method you can also update the Charge Categories.)

CRITICAL: If you delete a category from Maintenance, it will be deleted for ALL Providers. Once a category is deleted from Maintenance, it cannot be recovered and any hot buttons associated with it will be lost.
To assign diagnoses to a category, click the Category Items button at the top of the Dx Setup screen. (Each category can have up to 45 items associated with it.)
Firstly, you select the ICD mode from the ICD Mode dropdown list; either ICD-9 or ICD-10 category items to apply to each category. Then select the desired category—in this example it is Ankle, Foot, Toes—from the dropdown list directly below the ICD Mode dropdown. Then assign category items (diagnoses) to the buttons:
- To add your category items, select a category item from the list, then click on an empty button. Repeat as necessary, working down through the five buttons at the left and then starting again at the top of the next column to the right.
- To access to more empty buttons, click the Next button. To go back to previous buttons, click the Back button.
- To remove a category item, click the Remove button and then click the button you would like to clear.
- Be sure to click Save before moving on to the next category.
Repeat the above process for each category.
An example of selecting the ICD mode and category:

An example of assigning a diagnosis to a button:

IMPORTANT: Add your category items from top to bottom, working from left to right. ChiroTouch auto-arranges these buttons to remove any unused buttons. Start at the top left-hand most column and work down, then start at the top of the next column, and so on. If gaps are created by unused buttons, all subsequent buttons will move over to fill the gaps.
Additional Information
For full instructions on setting up diagnosis buttons, view the Hot Button video shown below.