Alerts Tab
The Alerts tab allows you to assign specific alerts to your patient.
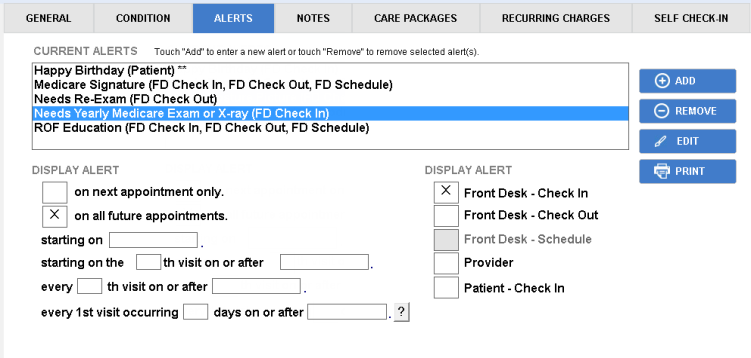
The list of current alerts displays all alerts currently assigned to this patient. You may edit patient alerts here by clicking on the alert and editing the information in the Display Alert area of the screen. Group alerts are followed by two asterisks ** and cannot be edited here. Group Alerts for information on adding or editing group alerts.
Assign a single alert to a patient
- Click Add. The Patient Alert(s) dialog box appears.
- Select Single Alert.

- Select one or more alerts from the list.
- Click OK to add these alerts to your patient’s current alerts.
- Select frequency and date options for your alert in the Display Alert area. These options allow you to assign alerts based on a specific patient visit after a certain number of days. Use these options to assign an alert to a patient on different dates based on when their specific visits are scheduled.
- In the Who/When area, select to whom you would like to display the alerts. For the Front Desk options, you can select all or one of the options. In order to select the Front Desk - Schedule option, you must enter a date for the starting on n. To alert the patient at self check-in, select Patient - Check In.
Edit an alert description
- Select an alert.
- Click Edit (or double-click the alert name) to edit the description.
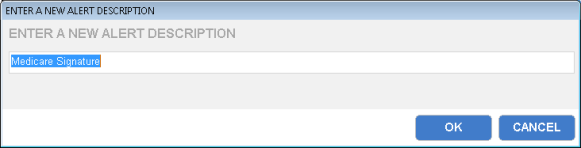
- Click OK.
Remove an alert
- Select the alert from the list.
- Click Remove.
- Click Yes in the dialog box that appears.
Add a group alert
- Click Add.
- Select Alert Package.
- Select an alert package from the Alert Packages drop-down menu.
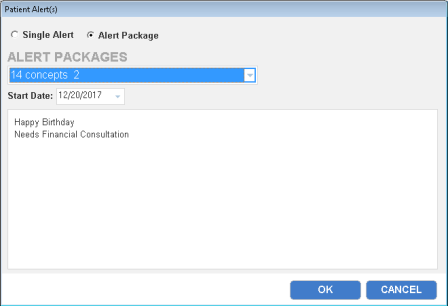
- Select a start date.
- Click OK.
You can remove a group alert from an individual patient account, but you may not configure or edit group alerts. To access the group alerts screen, click Group Alerts on the Patient Management screen. For more information on group alerts, Group Alerts.
Remove a group alert from an individual patient's account
- Select the alert.
- Click Remove.
- Click Yes in the dialog box that appears.