Fee Schedules
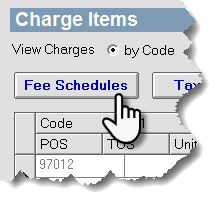
To set up fee schedules for your payors, click the Fee Schedules button in the upper right-hand corner of the Charges section of the Maintenance application. These fee schedules can then be assigned to patients in the Patient Information section of the Front Desk application.


Create a Fee Schedule
- Click the New button in the Fee Schedules dialog box.
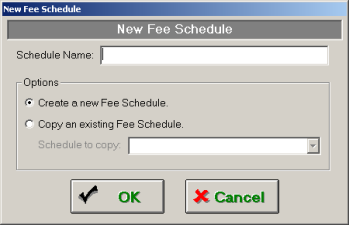
- Enter a new fee schedule name in the Enter new fee schedule name dialog box. A fee schedule name is typically the name of the payor.
- Choose whether to create a new fee schedule from scratch, or to copy an existing fee schedule. If copying, select one from the Schedule to Copy drop-down menu.

- Click the OK button.
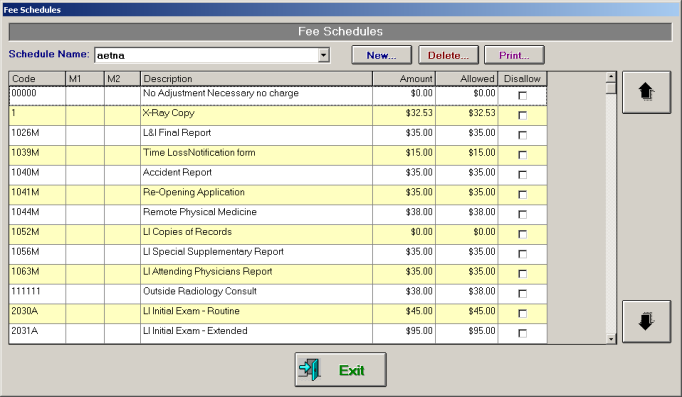
- To select the fees that you would like to disallow for this payor, check the boxes in the Disallow column of the fee list. Only those fees with a check mark in the Disallow column are disallowed for your chosen payor.
- Click the Exit button.
Delete a Fee Schedule
- Select the fee schedule to delete from the Schedule Name drop-down menu.
- Click the Delete button. A dialog box appears to verify the deletion. Click Yes to delete.
Change the dollar amount of an allowed or charged fee
- Click the dollar amount in the Amount column of the fee list.
- Type the new amount.
This amount only applies to the fee schedule selected in the Schedule Name drop-down menu.
NOTE:
If you wish to make changes to a chart item amount, allowed amount, or code modfier in ALL fee schedules, Charges.