Purchase Orders
The Purchase Orders tab in the Inventory application allows users to create, edit, view, and print purchase orders.
PO Lifecycle
Unless they are denied (rejected) or canceled, purchase orders progress in sequence through the following status values, each of which is triggered by specific actions in the software.
Click the Purchase Orders tab or click PO List in the Purchase Orders tab ribbon to view all purchase orders in your system in a list.
Click a column header to sort the Purchase Order List.
Create New PO
IMPORTANT:
Add at least one inventory item to your system before creating a new PO.
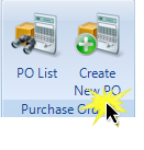
- Click Create New PO from the Purchase Orders group in the ribbon.

- The software will automatically populate a unique PO identifier in the Order No: field and the PO status in the Order Status field.
- Enter or select the information that pertains to your PO. Click
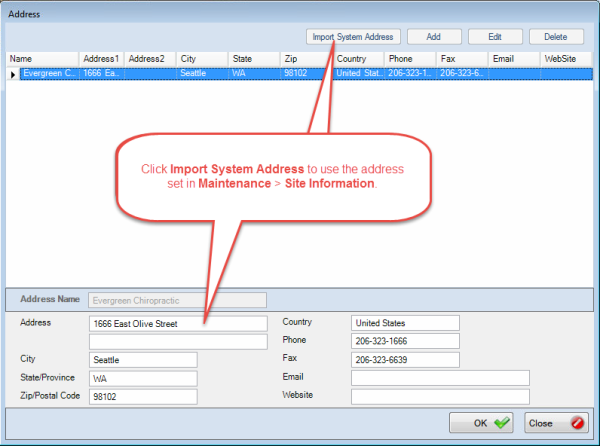
 to add a new Bill To or Ship To address to your system. You can also use the Import System Address button to automatically fill in the address information with what was set in Maintenance > Site Information.
- Click Add to add an item to the PO. Select either an item or an item code.
- N O T E
POs cannot contain items from multiple vendors. After a vendor is selected, the software will allow inventory items from that vendor to be included in the PO.
- Type a quantity in the Ordered Qty field.
- When the PO contains all required items, click OK. The software will add the PO to the PO List and any address from the Import System Address button will be saved..
- N O T E
You are responsible to submit the PO to the vendor.
Edit PO
- Double-click a PO from the PO List or select a PO from the PO List and click Edit PO from the PO Actions group in the Purchase Orders tab ribbon.
- Edit the PO and click OK.
NOTE:
Once a PO is approved, the software will not allow a user to add additional items to a PO.
Cancel PO
- Select a PO from the PO List and click Cancel PO from the PO Actions group in the Purchase Orders tab ribbon.
- Enter a reason for canceling the PO and click OK.
View PO status history
- Double-click a PO from the PO List or select a PO from the PO List and click Edit PO from the PO Actions group in the Purchase Orders tab ribbon.
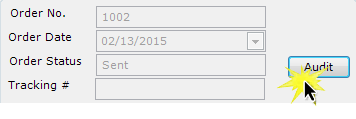
- Click Audit.

Approve PO
- Select a PO from the PO List and click Approve.
Edit and Approve PO
- Double-click a PO from the PO List or select a PO from the PO List and click Edit PO from the PO Actions group in the Purchase Orders tab ribbon.
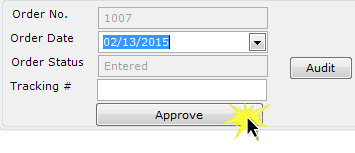
- Edit the PO and click Approve.

- Click Approve again.
Deny PO
- Select a PO from the PO List and click Deny.
- Enter a reason for denying the PO and click OK.
Print a single PO or print multiple POs in a batch.
Print Single PO
- Select a PO from the PO List and click Print PO from the Print group in the Purchase Orders tab ribbon.
- Click Yes
- Print or export the PO to PDF or Excel and send it to the vendor.
NOTE:
Printing a single PO will update its status to Sent. You are responsible to send the PO to the vendor.
Batch Print POs
- Click Batch Print from the Print group in the Purchase Orders tab ribbon.
- Select a start and end date for POs in the batch.
- Select at least one PO status for POs in the batch or select [All] from the Status list.
- Select at least one vendor for POs in the batch or select [All] from the Vendors list.
- Click OK.
- Print or export the batch to PDF or Excel.

 to add a new Bill To or Ship To address to your system. You can also use the Import System Address button to automatically fill in the address information with what was set in Maintenance > Site Information.


