Customizing a Page through MyChiroTouch
The CT Intake custom web page and auto PDF maker allow you to customize your CT Intake web page while enabling quick and accurate data entry into your patients' records.
Creating a CT Intake Custom Web Page
- Sign in to MyChiroTouch.com and click the Services.
- Click the CT Intake icon.
- Click Customize Your Web Page to expand the options.
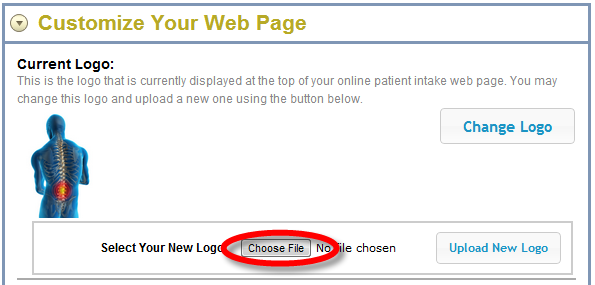
- Click Change Logo in the Current Logo section.
- Click Choose File and choose a logo from your computer to upload.

- Click Upload New Logo.
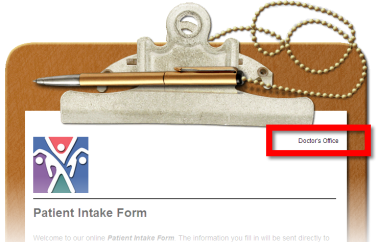
- If desired, customize your contact information. This is the information that appears in the upper-right corner of the intake form. The standard option will use the address you have supplied to us. Select Custom to enter custom data in the text field.

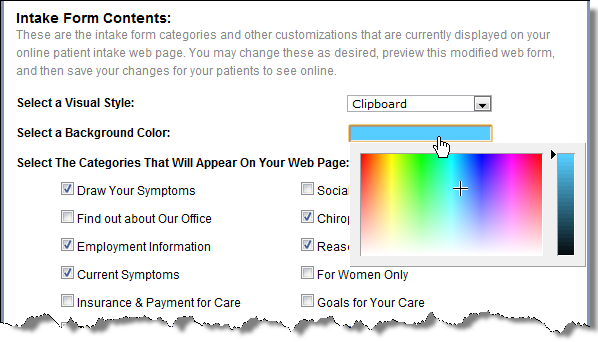
- In the Intake Form Contents section, select a visual style from the drop-down menu.
- Click the Background Color box to view the color selector, and then click a color to select it.

- Select the categories you would like to appear on your web page. Clients with CT Intake Premium will have access to categories that integrate automatically with BulletTouch documentation macro set for compliant patient intake documentation in Chart Notes—for more on using these macro-enabled categories with CT Intake Premium, click here.
- N O T E
The Draw Symptoms and Signature categories are not supported on older browsers. To enable this functionality, upgrade to the latest version of your browser. - Select an authorization message.
- Select Standard to use the authorization message that appears in the text box.
- Select Custom to edit the authorization message in the text box.
- Click Preview Your Web Page to preview your custom web page. Your preview will open in another window. Once you've reviewed your web page, return to the original window to save your web page or make changes.
- When finished, click Save. A dialog box appears prompting you to click OK to save your web page.
- Click OK. A dialog box appears with status information about your custom web page and PDF.
- To get the web address for your web page, drag your cursor to select the text of the URL below the Preview Your Web Page button. Press CTRL + C to copy the address to the Clipboard. You can also click the URL to view the web page.

You can now integrate this URL into your practice website, create a link to this URL on your website, or simply provide it to your patients.
NOTE:
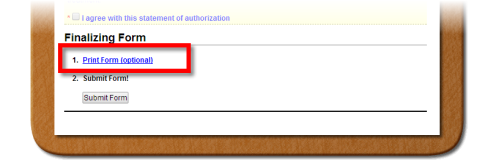
If you are using the Draw Your Symptoms feature, the body image will only print when the patient clicks Print Form in the Finalizing Form section. It will not print if they use the browser's print command.